

How to Blur Sensitive Information During Screen Sharing
Screen sharing makes it easier to explain a workflow, demonstrate software, collaborate with coworkers, and help customers troubleshoot problems. However, sharing your screen can also expose information you did not intend to reveal, such as email addresses, customer records, account balances, API keys, or private messages.
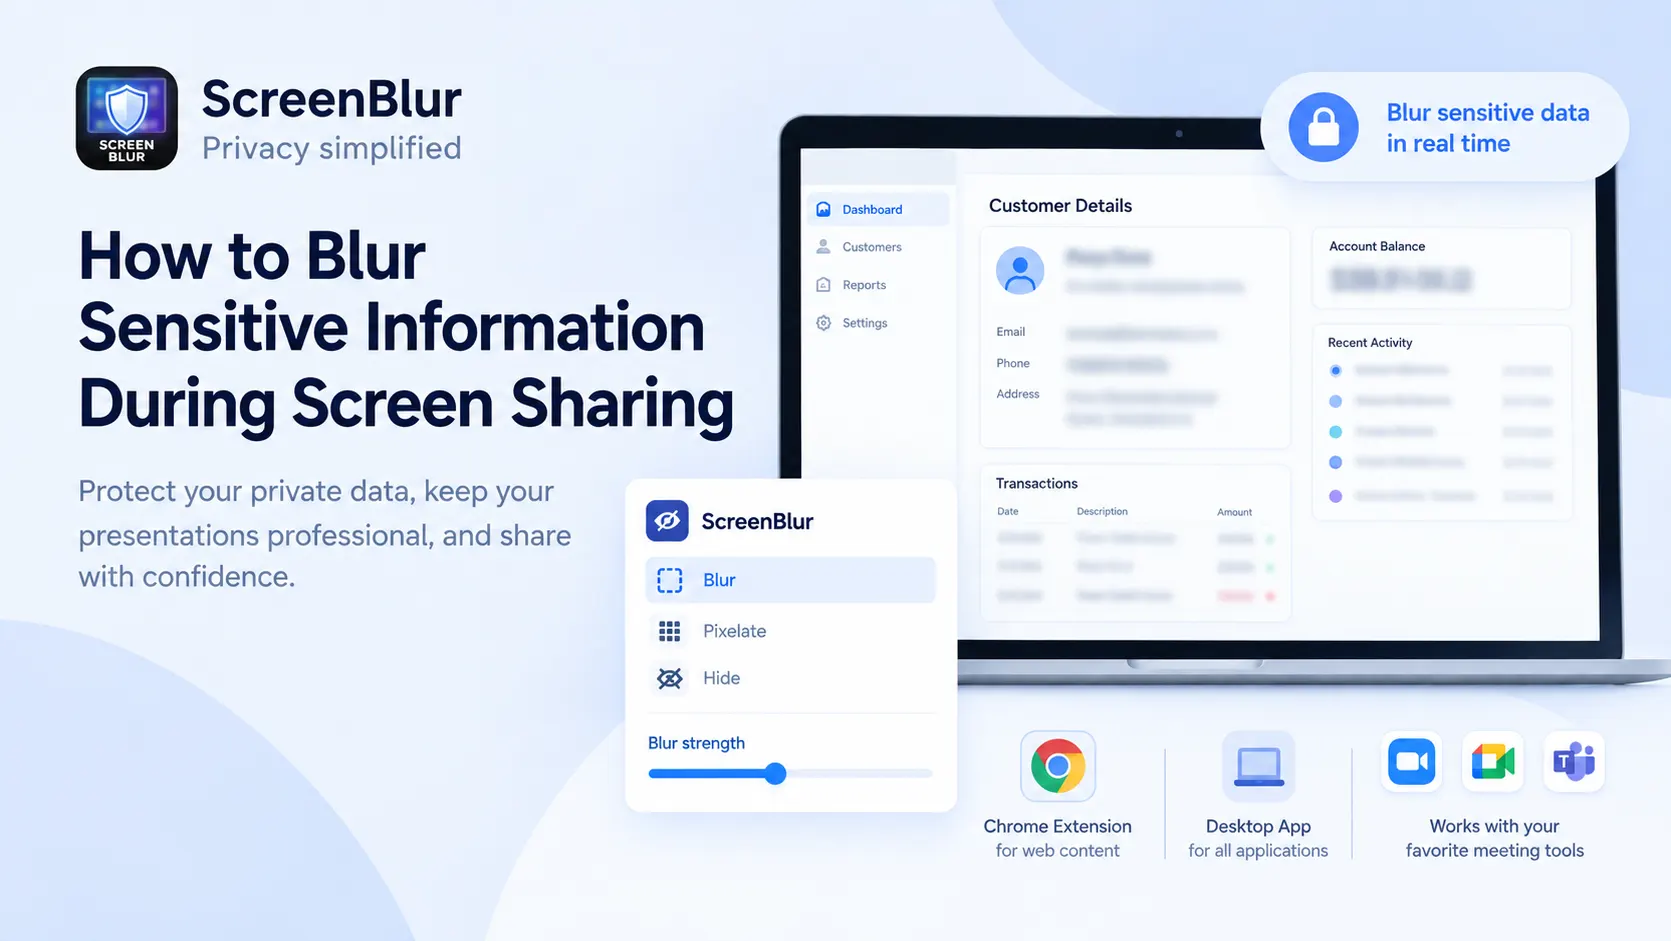
The safest approach is to prepare your screen before sharing and blur sensitive information that must remain hidden.
You can do this using a screen-privacy tool such as ScreenBlur, built-in sharing controls, or editing software when you need to modify an existing recording. The right method depends on whether you are sharing a webpage, presenting a desktop application, or recording a video.
Quick answer: How do you blur sensitive information while screen sharing?
To blur sensitive information during screen sharing:
- Identify the private information visible on the screen.
- Open the webpage or application you want to share.
- Use a suitable blurring tool to select the text, image, or region you want to hide.
- Adjust the blur strength and check that the information is no longer readable.
- Start a test share or recording and verify that the blur remains visible to your audience.
ScreenBlur offers two workflows: a Chrome extension for selected content on webpages and a desktop app for blurring regions across applications. You can learn more on the official ScreenBlur website.
Why should you blur information before sharing your screen?
A screen-sharing session can reveal more than the main application you intend to demonstrate. Notifications, browser tabs, customer dashboards, and open documents can expose confidential information unexpectedly.
Common examples include:
- Personal information: Email addresses, phone numbers, home addresses, and private messages.
- Customer information: Names, account details, support tickets, and CRM records.
- Financial information: Account balances, invoices, billing details, and transaction records.
- Developer secrets: API keys, access tokens, credentials, and internal configuration values.
- Business information: Internal dashboards, unpublished metrics, confidential pricing, and project notes.
This is particularly relevant during client presentations, software demonstrations, technical tutorials, online training, and customer-support calls.
Blurring information that does not need to be visible helps keep the presentation focused while reducing the risk of accidental disclosure.
Method 1: Blur sensitive information with ScreenBlur
ScreenBlur is designed to hide selected content before or during screen sharing and recording, rather than requiring you to edit the finished video afterward.
The method you use depends on whether the sensitive information appears inside a browser or elsewhere on your desktop.
Option A: Use the Chrome extension for webpages
If you are demonstrating a website, CRM dashboard, analytics report, or web application, the Chrome extension is a suitable starting point.
Step 1: Install ScreenBlur
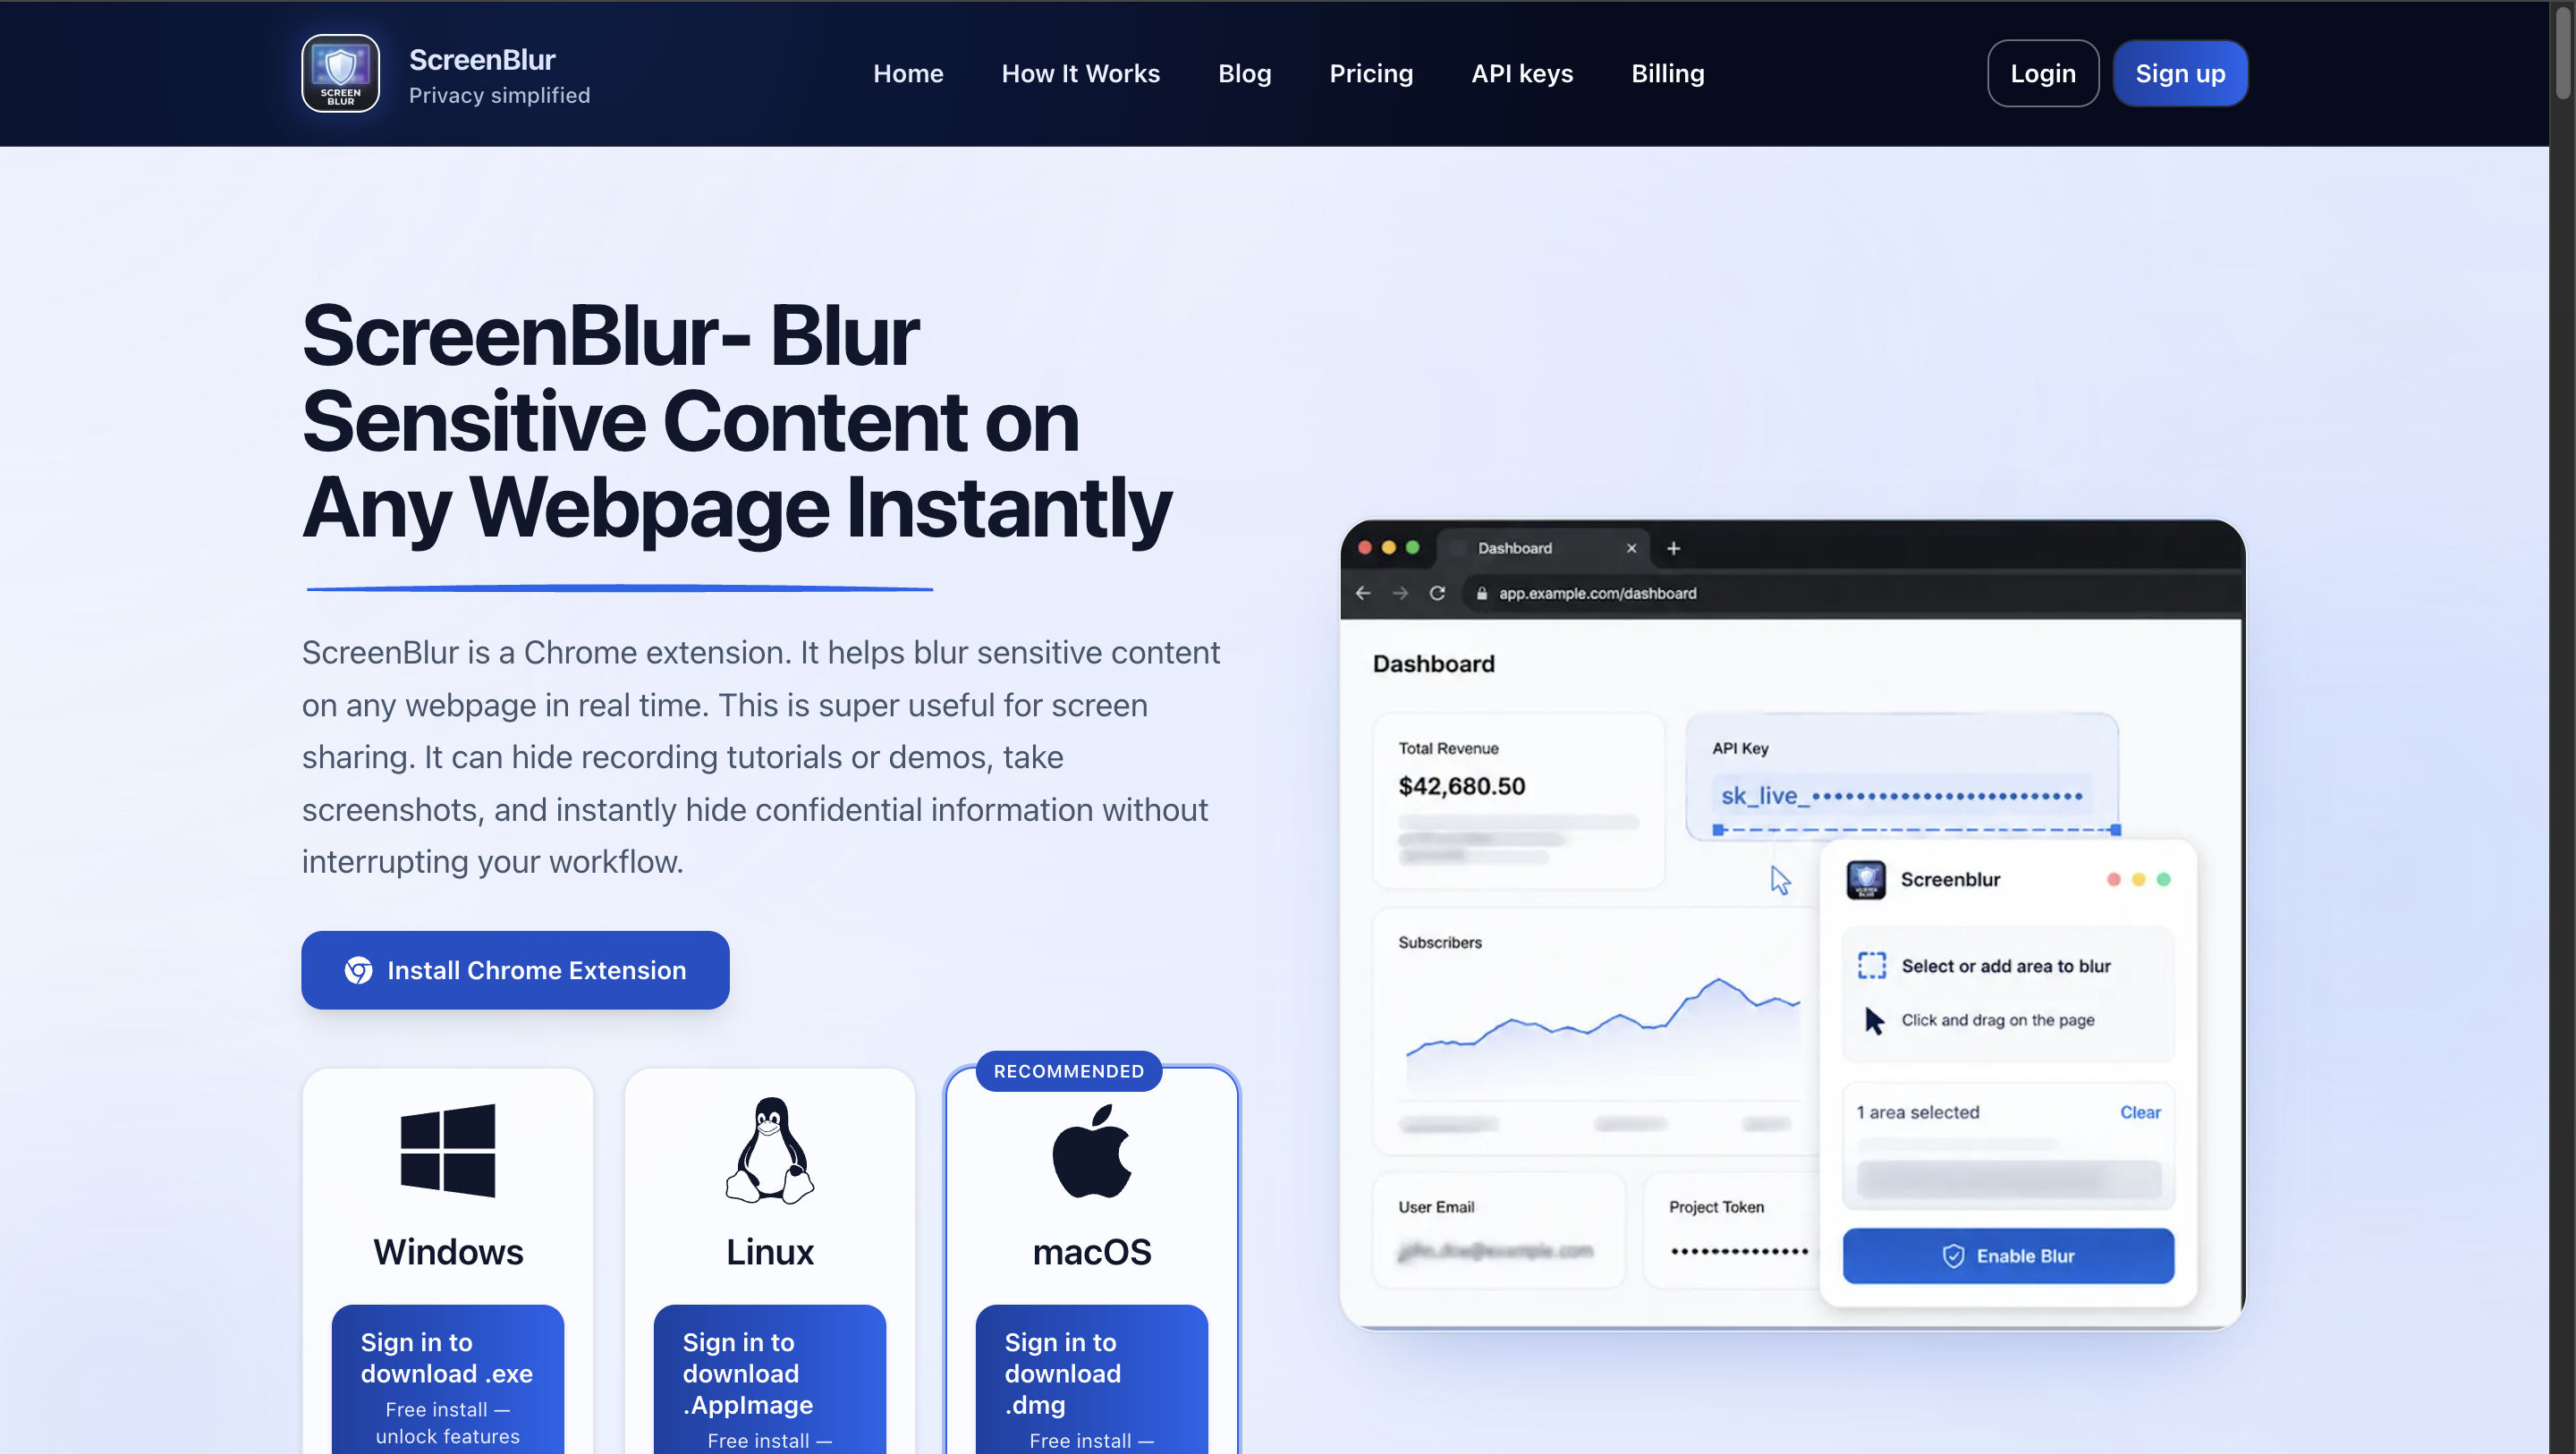
Visit the ScreenBlur website and follow the link to its Chrome extension. Install it and open the webpage you intend to share.
Step 2: Identify sensitive content
Look for customer names, email addresses, financial figures, private messages, or other information that should not be visible to your audience.
Step 3: Select the content to blur
Activate ScreenBlur and select the webpage elements you want to obscure using its available blur controls.
Step 4: Adjust the blur
Increase the blur strength until the underlying information cannot be read at the expected presentation size. Check small text carefully.
Step 5: Test before sharing
Start a test recording or share the relevant browser tab with a trusted test viewer. Confirm that the blurred regions remain obscured and that the rest of the page is visible.
The extension is especially useful when the content you want to demonstrate lives inside a browser.
Option B: Use the desktop app for applications and full-screen sharing
A browser extension is not sufficient for every situation. If you need to demonstrate a native desktop application, switch between multiple programs, or share your entire desktop, a desktop-wide blurring workflow may be more appropriate.
ScreenBlur's desktop app supports blurring regions across desktop applications.
Step 1: Install the desktop app
Visit ScreenBlur and choose the appropriate installer for your operating system. Follow the installation instructions and grant the required permissions.
Step 2: Open the application you want to demonstrate
Arrange your windows and prepare the screen as you would during the actual presentation.
Step 3: Activate the blur controls
Launch ScreenBlur's desktop interface and select the sensitive areas you want to hide. These might include a customer record, a private notification, or a confidential panel within an application.
Step 4: Position and adjust the blur regions
Check that each region covers the entire sensitive area. Where supported, adjust the blur strength and use the available controls to refine or reset the regions.
Step 5: Verify the shared output
Test the exact screen-sharing or recording mode you intend to use. Check that the overlays remain in the captured output, including when switching windows or entering full-screen mode.
For more details, refer to the ScreenBlur How It Works guide.
Method 2: Use your video-conferencing application's sharing controls
Sometimes you do not need a dedicated blur tool. Choosing what you share can reduce accidental exposure.
Share a specific window instead of your entire desktop
When your meeting software offers the option, share only the application window or browser tab required for your presentation.
This reduces the likelihood of exposing unrelated windows, desktop notifications, or other open applications. However, it does not automatically hide sensitive information inside the window you are sharing.
Close private tabs and disable notifications
Before joining a call:
- Close unrelated browser tabs and documents.
- Turn off notifications that might display private messages.
- Sign out of accounts that are not required for the demonstration.
- Avoid opening password managers or account settings while sharing.
- Prepare a clean demonstration account when possible.
These steps complement blurring tools but do not replace them when sensitive information must remain visible to you while being hidden from your audience.
Understand the limitations of built-in blur features
Meeting applications may offer background blur, camera effects, or presentation controls. These features should not be confused with blurring arbitrary text, customer records, or other elements on your shared screen.
Check the current capabilities of your meeting application before relying on a native feature to conceal screen content.
Method 3: Blur information in an existing screen recording
If you have already recorded a video, you can use a video editor to obscure sensitive information before publishing or distributing it.
A typical workflow involves:
- Importing the recording into a video editor.
- Adding a blur or masking effect over the sensitive region.
- Tracking or repositioning the mask if the content moves.
- Reviewing the entire video to find every appearance of the information.
- Exporting and checking the finished recording.
This approach is useful for videos that already exist. However, editing can take longer when sensitive information appears in multiple scenes or moves across the screen.
Whenever possible, prevent unnecessary exposure before recording. Real-time blurring can reduce the amount of post-production work required, but you should still review recordings before sharing them publicly.
Which screen-blurring method should you choose?
Your choice should depend on the information you need to hide, where it appears, and whether you are sharing live or editing an existing recording.
Best practices for safer screen sharing
Even with a blurring tool, a short preparation routine can prevent mistakes.
1. Prepare the screen before the meeting. Open the exact applications, tabs, and documents you need.
2. Blur all relevant information. Check sidebars, notifications, profile menus, browser tabs, and secondary panels—not just the main content.
3. Verify that the blur is effective. Test whether the information remains readable at the resolution and scale your audience will see.
4. Recheck the screen after navigation. A webpage can change when you scroll, open a menu, or load new content. Reposition or reapply blur regions as necessary.
5. Test the actual sharing mode. Window sharing, tab sharing, full-screen sharing, and recording can capture content differently. Verify the exact workflow before an important presentation.
6. Avoid displaying real secrets unnecessarily. Use test accounts, sample customer records, and dummy credentials in demonstrations whenever possible. Never rely on a visual blur as the only safeguard for an active password, API key, or access token.
7. Review recordings before publishing. Watch the final output and confirm that sensitive details have not appeared in another scene or become visible after a layout change.
Frequently asked questions
Can I blur only one part of my screen while sharing?
Yes. A suitable screen-blurring tool can obscure a selected region while leaving the rest of the screen visible. ScreenBlur provides region-based blurring through its browser and desktop workflows.
Can I blur sensitive information during a Zoom meeting?
You can use an appropriate screen-privacy tool alongside Zoom. ScreenBlur is designed for screen-wide blurring through its desktop app and selected webpage content through its Chrome extension. Test the exact sharing mode before an important call.
Can I blur information in Google Meet or Microsoft Teams?
ScreenBlur is designed to work with common screen-sharing workflows, including Google Meet and Microsoft Teams. Select the appropriate browser or desktop workflow and verify that the blur remains visible to the audience.
Is a browser extension enough to blur my entire desktop?
Not necessarily. A browser extension focuses on content within supported webpages. If you need to conceal information in native applications or across your desktop, use a compatible desktop-wide solution.
Can I blur information after a screen recording is finished?
Yes. Video-editing software can apply blur or masking effects to existing recordings. If you want to conceal information during a live session or before it enters a recording, use a real-time method instead.
Is blurring sensitive information the same as encrypting it?
No. Blurring is a visual concealment technique. It does not encrypt the underlying information or replace access controls, secure credential management, or proper data-handling practices.
Conclusion
Protecting sensitive information during screen sharing starts with knowing what your audience can see. Sharing only the necessary window, disabling notifications, and preparing your presentation can reduce exposure. When you need to hide specific information while continuing to work with it, a dedicated screen-blurring tool can help.
ScreenBlur provides a Chrome extension for webpage content and a desktop app for broader screen-wide workflows. Choose the option that fits your setup, test it before an important meeting, and review your recordings before distributing them.
Explore ScreenBlur to see which workflow fits your screen-sharing needs.